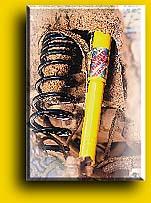
The OME Coils are impressive! In comparison to the factory Toyota ones they are thicker in diameter and have more windings, thus resulting in a lift and a more controlled ride. The shock shafts are also thicker and diameter and simply appear better made than the factory ones. I guess any aftermarket shocks are better than the stock ones J
Installation:
I would like to say that I did the entire install by myself but I didnt. I had one of my mechanically inclined buddies give me a hand. This was my first time doing any suspension work, but the help of my bud and general help from the forum this job went pretty smooth. The job took (2) guys around 7 hours. We worked slow plus some beer breaks in between and one run to the auto parts to get the coil/spring compressors.
Ill start by saying that the front was a lot easier than the rear. The rear took some manipulating of the rear axle and a few %@##@ word to get the rear springs to come out.
Rear:
We used a pair of jacks on the rear axle and some stands to support the rear.
Coil compressors to remove the old factory coils and install the new OME coils. Finally, we disconnected the sway bar end links, as this provided extra movement of the axle.
The upper mounts for the rear shocks on the 96-02 4Runner are tucked up high and are a pain to access. A combination of pliers and socket set was used to remove/install the shocks. Aside from this, everything else is pretty straightforward.
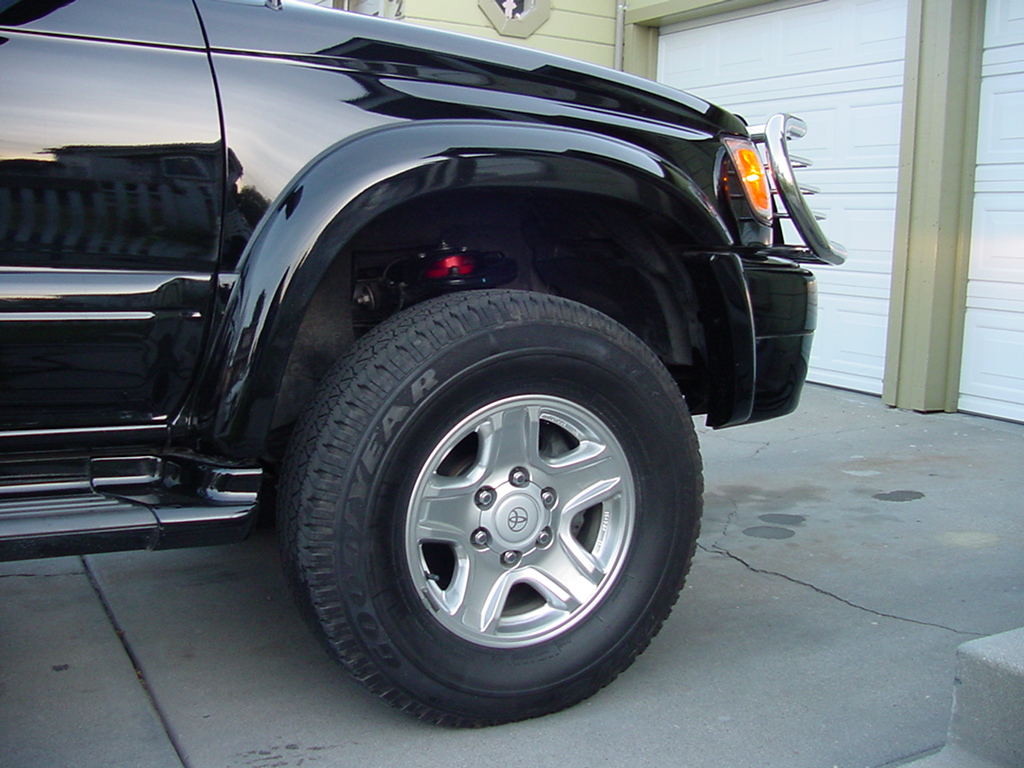
Front:
The Sway Away RaceRunner Coil Overs drop right in. Basically jack up and support the front end with some stands and a jack, Remove the tires and undo the hardware holding the factory coilovers.
*Tip* The factory bottle jack inserted upside down between the top tire firewall and the upper A-arm helps align the coilovers., which helps with installing the hardware.
Fine Tweaking:
Adjusting the initial front height took us some time, since we constantly jacking up and bringing it back down to take measurements.
My original measurements were the following:
(Measurements were taken from the lower plastic lip of the flares to the top center of the rim.)
Before lift:
Front 11.75"
Rear 11.00"
After the lift:
Front 13.00"
Rear 14.00"
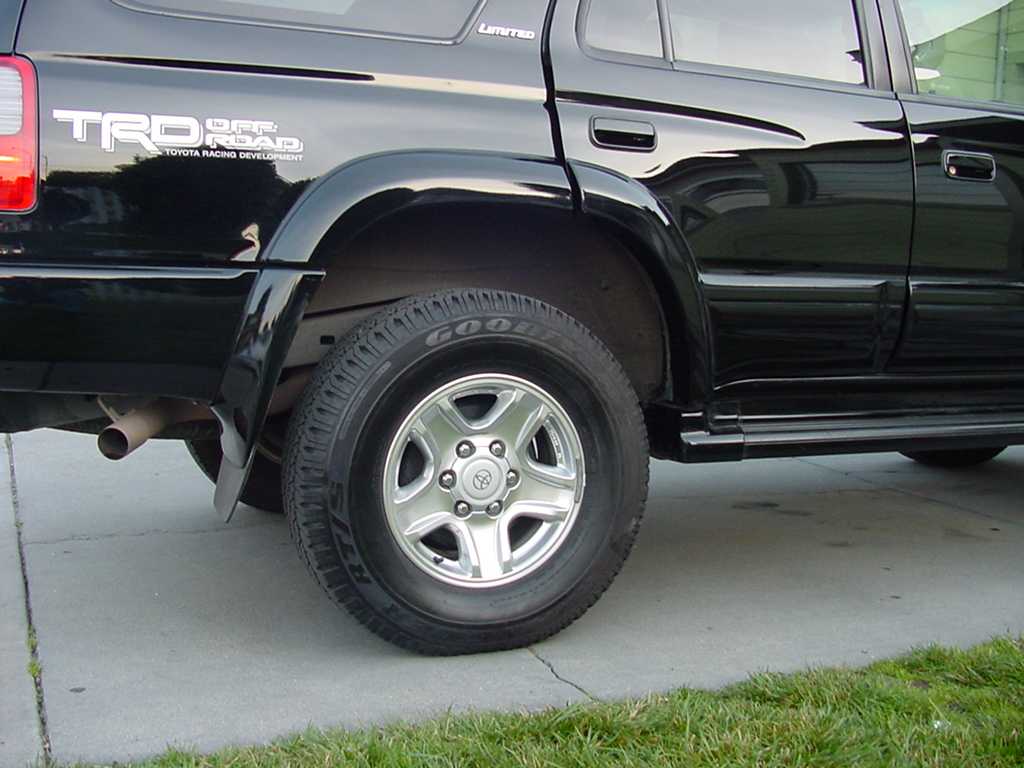
If my math is correct, my front is currently set to 1.25" of lift and the rear gained 3" of lift. I speculate that I will need to adjust the front further to accommodate my replacement tires, which will be a set Goodyear MT/Rs in a 28575R16.
Ride:
Like everyone would do, immediately after the install I jumped on the truck and took it for a test spin. The difference was noted immediately! In my case, the improvement came from the fact that the truck felt stiffer, but not overly stiff. It took me a long 10 minutes J to get use to it!
My biggest complaint with the stock suspension was that it was too soft and I couldnt really carry any weight without having the rear sag.
Finishing it off:
Ive been advised that to get a longer rear brake line and longer swaybar end-links to compensate the amount of lift in the rear.
Day in Day out:
Shortly after the install, my family and I went on road trip. Like a typical road trip, you end up with a fully loaded truck/car.
In our case, it was no exception L (4) adults, (1) baby and a fully loaded 4Runner with luggage in the back and on the rack. We managed to rack up over 5K miles during this road trip. The ride was great and we did not bottom out at all. Even without any weight, the truck does not feel overly stiff.
I was so glad that I did the suspension upgrade prior to this trip. The truck felt stable.
I dont believe I could have carried this much cargo weight plus the passengers on the stock suspension.
The rear has now settled around 13.75". The front has performed flawlessly, however in certain occasions I feel more body movement in the front than the rear. Couple people from the forum have reported good results with having the SAW coilovers valved for a Tundra pickup. This should result in stiffer front to match the rear OME suspension. This will be done in the near future.