|
System Layout and Install: The goal with this system install was not to make any permanent modifications to the 4Runner and have everything look clean.
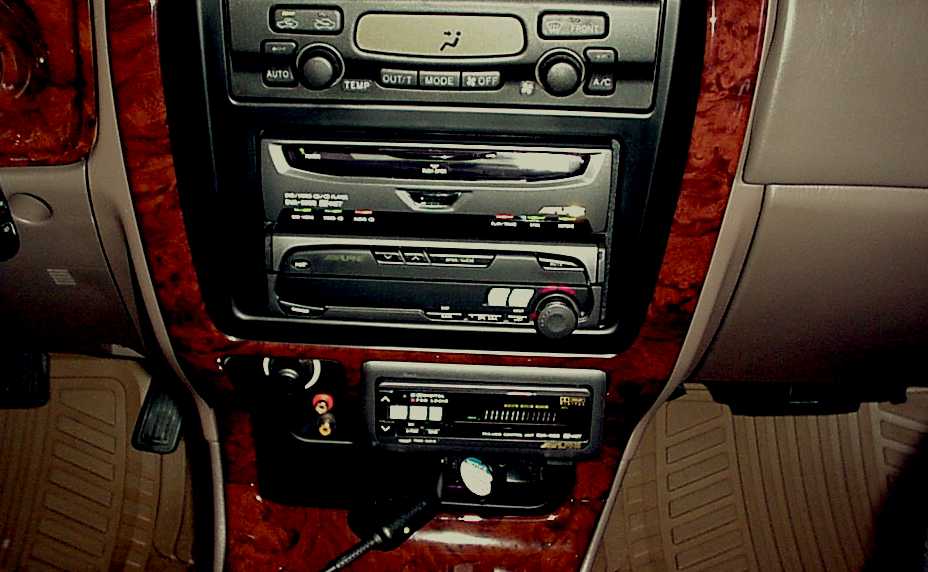
Up front in the double din opening, the tuner/video Monitor (CVA-1005) was installed on the lower side of the opening. The DVD (DVA-5200) was installed in the upper side of the opening.
This could have been swapped around and in fact it was tried out. The issue here was that when the monitor is out in the open position, it will block whatevers behind it.
I decided on having it mounted down below,for two reason:
1) I could tilt the monitor farther back which would result in a better viewing angle.
2) I would still be able to adjust and view the auto climate control display. (Extremely important to me.)
Next came the choice of where to install the PXA-510 Dolby Digital/EQ/Sound Processor control unit. With a custom bracket mounted to existing holes in the ash tray compartment the control unit had a home.
Further down in the cubby hole, I had my installer mount a set of Audio/Video inputs. These are wired to the CVA-1005 Control unit.
This allows me to hook a camcorder,playstation,portable VCR etc. and have it played thru my system.
NVE-851A DVD Navigation 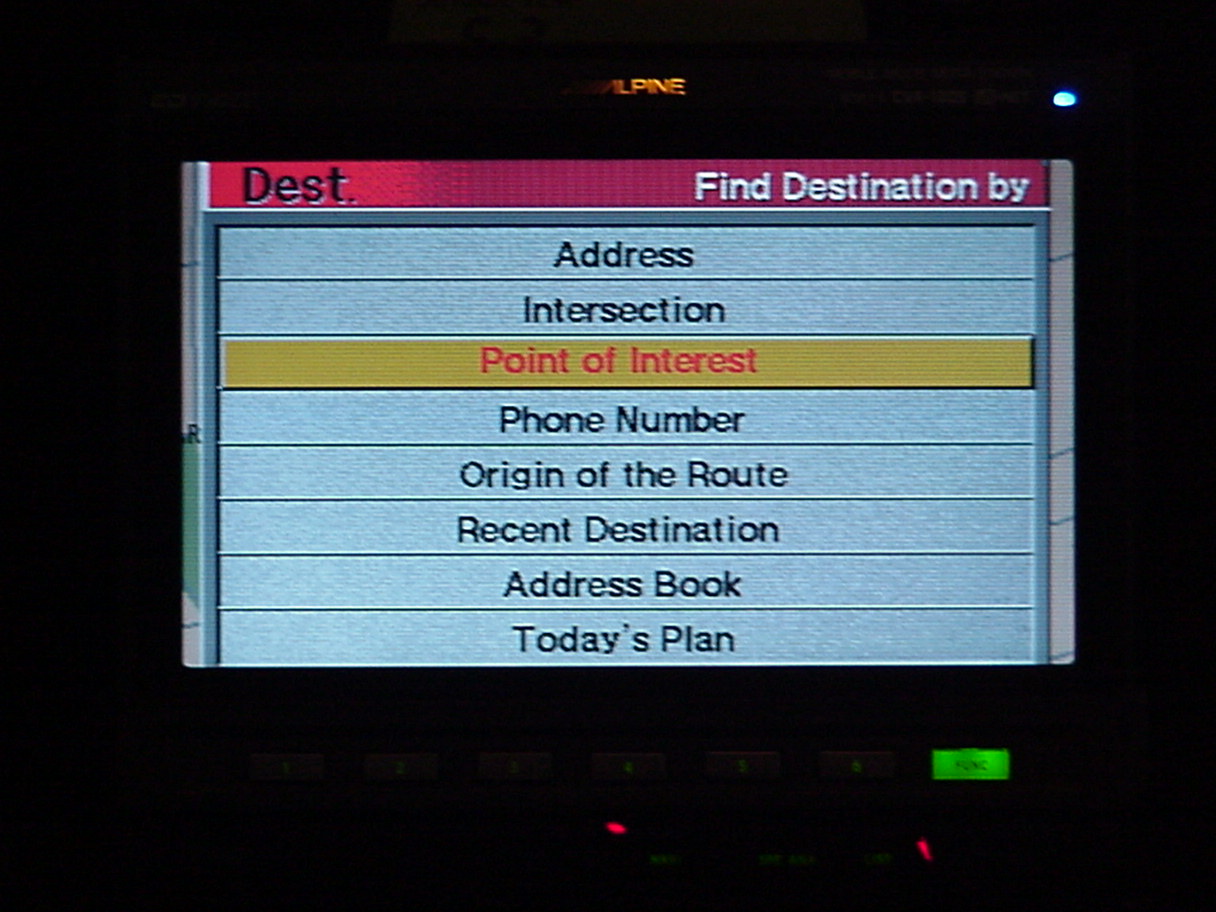
From the menu above, you select how you want to find your destination. 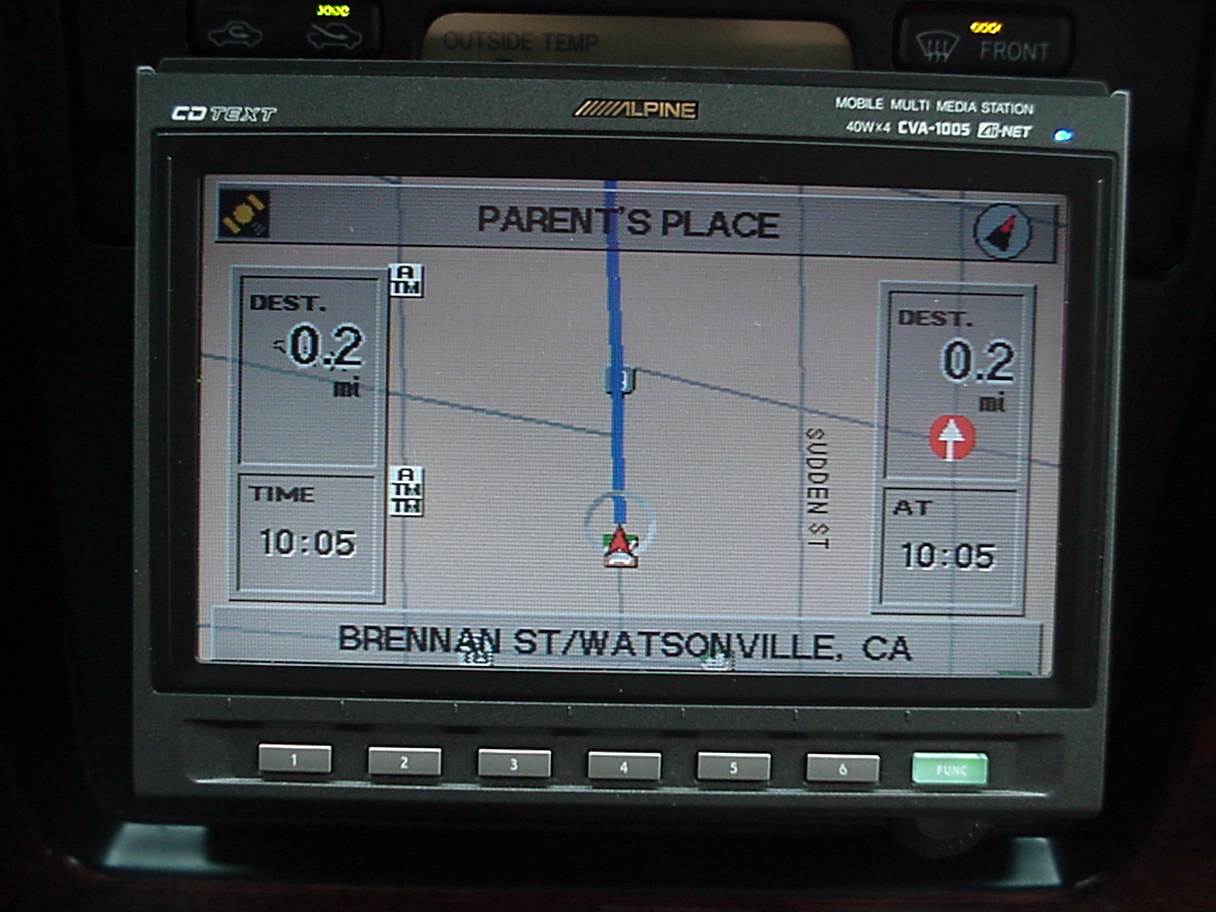
Once the destination is selected, your route is plotted in seconds. With the help of the GPS (Global Positioning System) your are guided verbally and visually to your destination.
During your destination, the screen is continusly being updated with the distance to the next turn, the current time, mile(s) remaing til your arrival and arrival time. All this is nicely layout as shown in the pic. 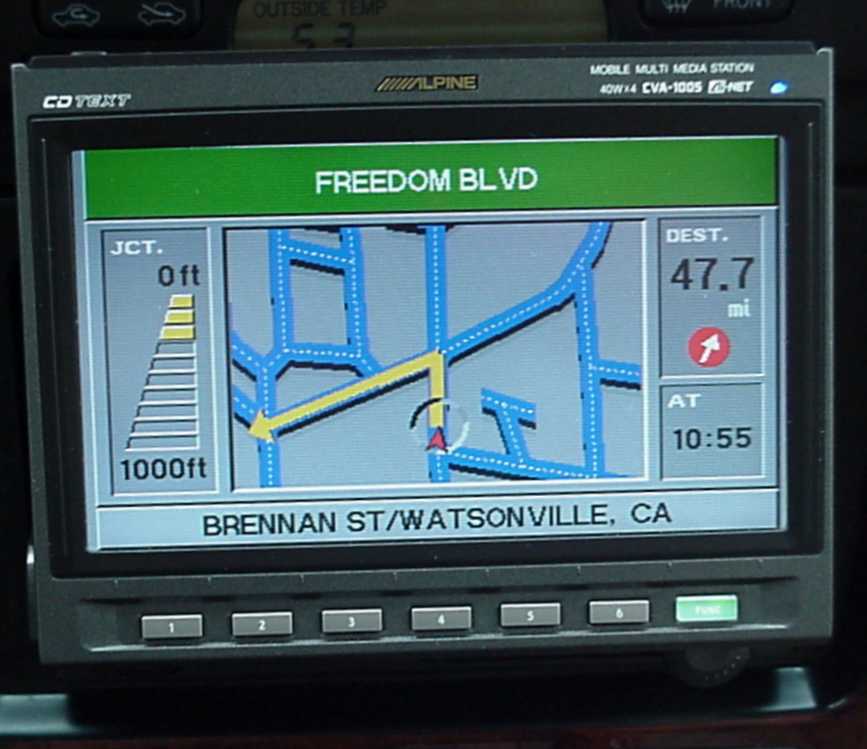
Once the next turn or exit is within one mile, the screen automatically toggles to a more detailed close up shot. DVA-5200 DVD/CD Video/CD Player 
Ok, so you want watch a movie, eh? Well, the DVA-5200 can play your DVD and CD Video movies plus play your regular CDs as well. This unit comes with two remotes (As if you needed another remote!) one master and mini basic operation one.
The nice thing about the integration of the Alpine system is that you can have a destination programmed and on your way to your destination you can have a movie playing. The sytem will automatically toggle between the movie or any other source (tuner/cd etc.) and Navigation.
The system only toggles when needed, like an exit off freeway or a turn coming up. Once the exit or turn is executed, the system toggles back to the movie, tuner, CD or other source you had.
The DVA-5200 was Alpines 1st generation in Dash DVD player, since then the DVA-5205 has replaced it. A few upgrades, but now has memory function to pickup where it left off in a movie or CD when the ignition is cycled. 
Movie in progress... Amazingly the picture quality is excellent and the detail is great.
Now if they could just come out with a 12" screen :)
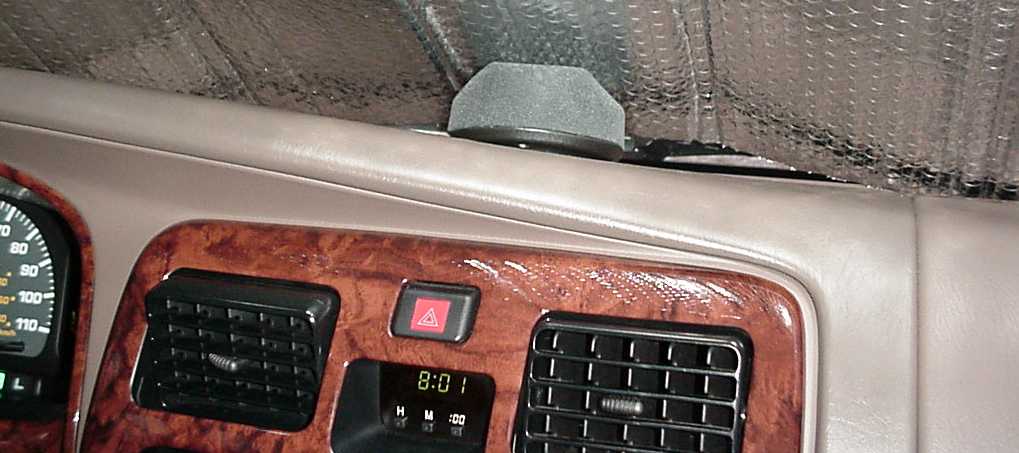
Along with PXA-510 Dolby Digital/EQ/Sound Processor, the SBS-510 Center Channel Speaker allows your hear your movies in Dolby Digital. Dispite its size and my mounting location, it sound clean and dynamic.
The center channel speaker was mounted on the dash close the windshield and secured with a small strip of double sticky tape. Part of this setup is a small amp that drives the center channel speaker. The amp was installed in custom enclosure which resides in the cargo area.
THe PXA-510 also consist of two pieces, the controller (as shown in the first pic.) and the processor which also resides in the custom enclosure.
The controller was installed in the stock ash try location with a custom bracket and secured to existing holes. No permanent modification were made. :) 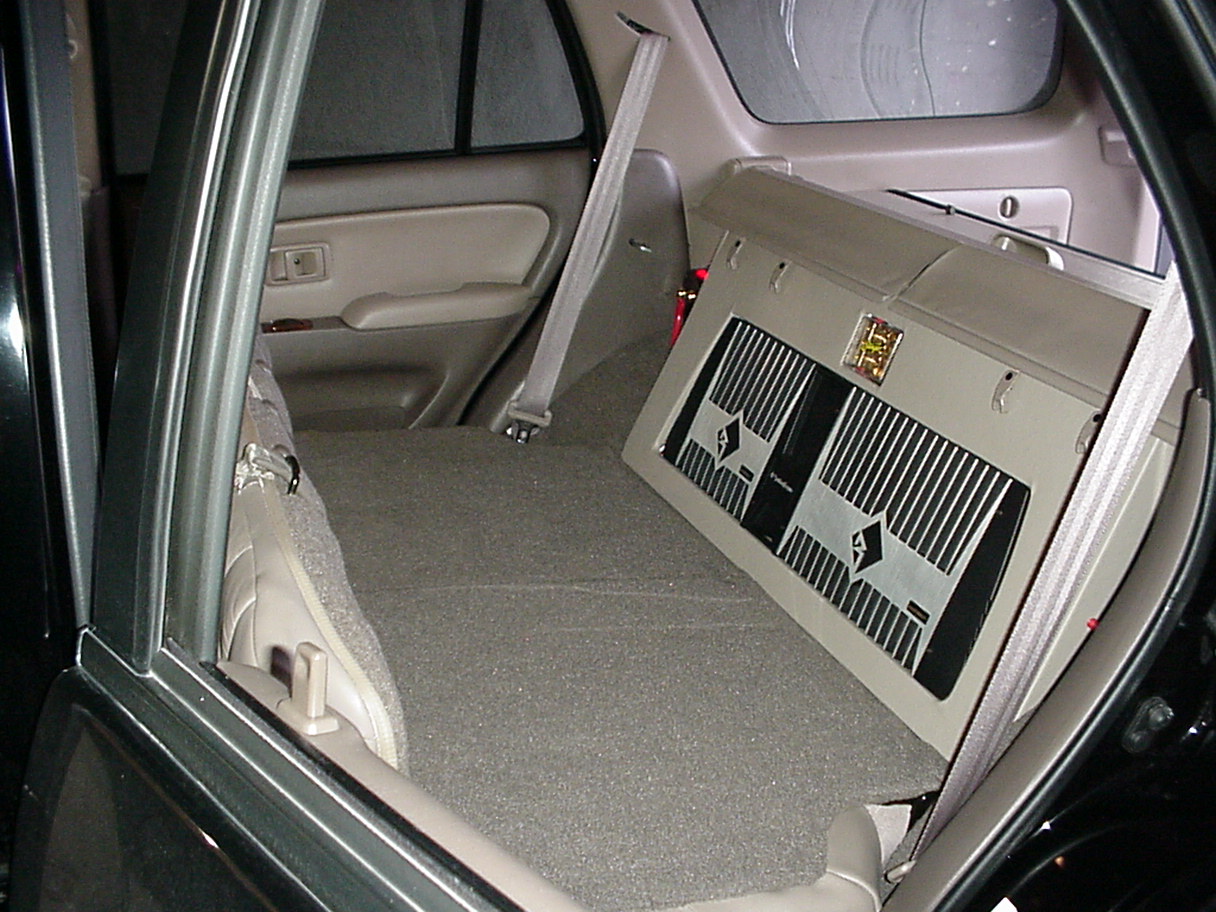
With all of the audio gear (amps, controllers, the DVD nav unit, etc..) it was obvious that a custom enclosure was going to be needed. This custom enclosure was going to be integrated with sub enclosure and amp rack. The top piece would have an area to store and service as needed the controllers, cables, fuses etc..
Facing the rear passenger seats, is the amp rack which holds my two RockFord Fosgate amps (800a2 and 600a4), two Stinger 1 farad caps with digital voltage readouts and a Stinger fuse block with a removeble clear cover to access the fuses.
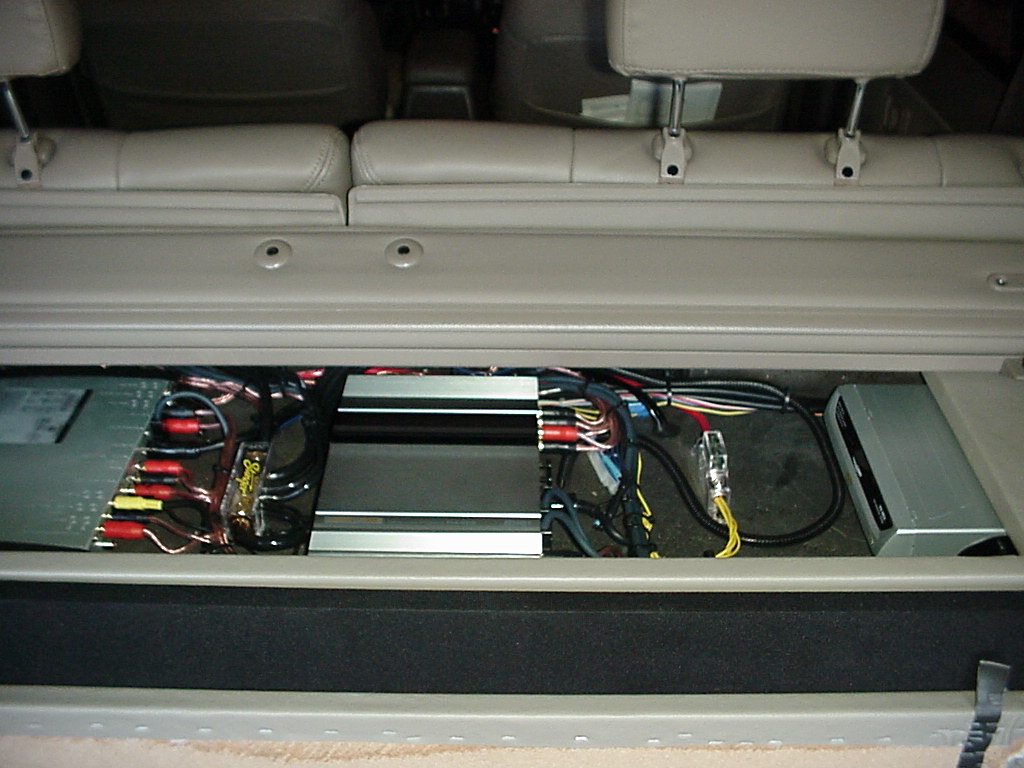
The picture above shows the top side of the custom box. The top portion of the enclosure was designed with a compartment. This was done to house various equipment (CVA-1005, NVE-851A DVD Nav., CHA-S624 CD Changer, SBS-505 Center Channel amp). This compartment has a removable top piece door which gives access to tweaking and or trouble shooting if a malfunction should occurr.
The cover sits nicely flushed with the rest of the enclosure.
Facing the cargo area are the (2) Rockford Fosgate 12" DXEDVC Subs. The sealed enclosure for these subs is sits below the compartment described above. A 3/4" MDF sheet seperates the compartment and the sealed box.
On each side (close the tire wheel wells) theres a removable piece of MDF sheet that give me access to the side compartment of the 4Runner and access to some more wiring. 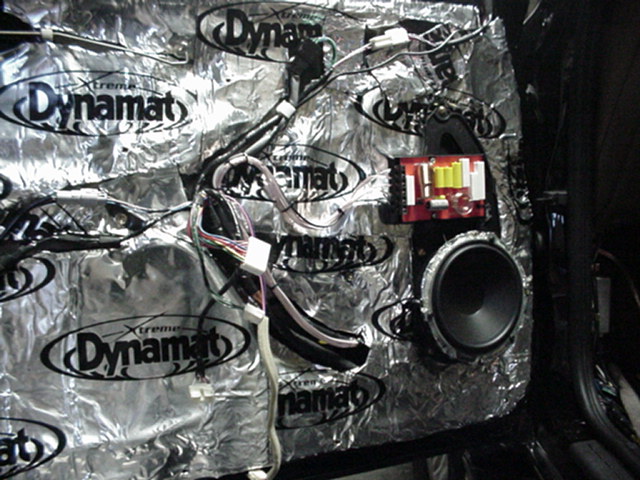
Boston Accoustic PROs 6.5 & 5.5 I'll start by clarifying a few things:
The stock front speaker brackets are 6.5" in diameter and the rears are 4.00".
I choose to do the install myself for several reasons, but the biggest one was the labor cost saving by doing the job myself. In doing so, Ive learned quite a bit plus I know the job was done right!
The job took me 3 days to complete. 1 (8) hour day and 2 days working late into the night.
I choose to work on one side of the 4Runner first rather than working on the fronts and then the rears or vice versa.
This way I had something to reference back to in case I was unsure of how to put something back together.
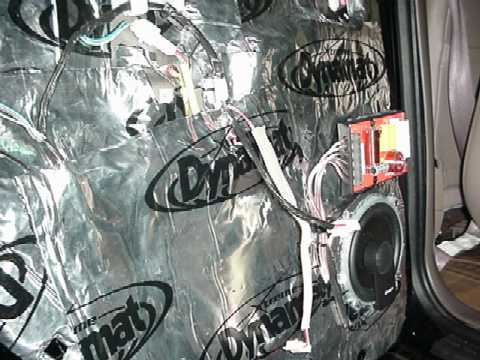
I started by pulling the door panels off. The stock plastic liner was ditched. The door panels were wiped down with a light mist of simple green to remove accumulated dust. The dynamat was cut into workable pieces (about a foot square pieces) and applied to the door panels. This process is what takes the most time since you want to make sure that all air pockets are flatten out. In the end it will be worth the effort.
*TIP* A pair of scissors and a sharp cardboard knife are excellent tools for cutting the dynamat.
Next came running new 16AWG speaker wire from the amp to each door. The hardest thing here was routing the wire thru the rubber grommets/channel between the doors and body. The rest was neatly routing it under the door trims/carpet.
Once the speaker wire was in the door, then I neatly tie wrapped the wire to the existing harnesses. This gave it a clean look plus it ensured that the wire was not going to get caught by the window mechanism.
FRONT
On the front doors I used the stock speaker bracket/holder for my new speakers and also choose to mount the crossover networks right above the speakers.
I used a metal bracket (came with the Boston PROs) between the stock speaker holder/bracket and my new speakers. This allowed me to secure the speaker to the bracket and then the bracket to the speaker holder. A round trim piece of dynamat was used between the speaker and the bracket to eliminate any vibrations. I then followed up with some silicone all around to ensure a complete seal.
REAR
On the rear doors, I used 3/4" plywood as a bracket. This bracket was used instead of the stock speaker/bracket holder. The wood spacers were cut, lightly sanded and painted flat black. The shape was done similar to the stock shape except that a section was left to mount the crossover network.
Once again, I applied dynamat between the door panel and the new bracket and in between the speaker and the bracket. I then applied silicone to ensure a complete seal as well.
*Note* With the 3/4" wood spacer and the 5.25 Boston PRO, I ended up with 5-8 mills between the window and the rear of the speaker (With the window rolled down).
Overall, I'm extremely happy with the setup, there's a definite sound improvement with the these Boston PROs. They sound really clean and make the music come alive.
I definetly recommend the dynamat extreme. It keeps the panels from rattling and in turn keeps the music tight and clean. On the road it helps with the noise down. Not that the 4Runner is noisy, but a quieter 4Runner makes it more comfortable!
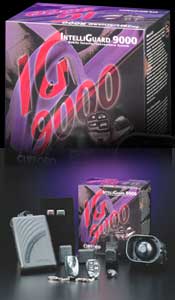
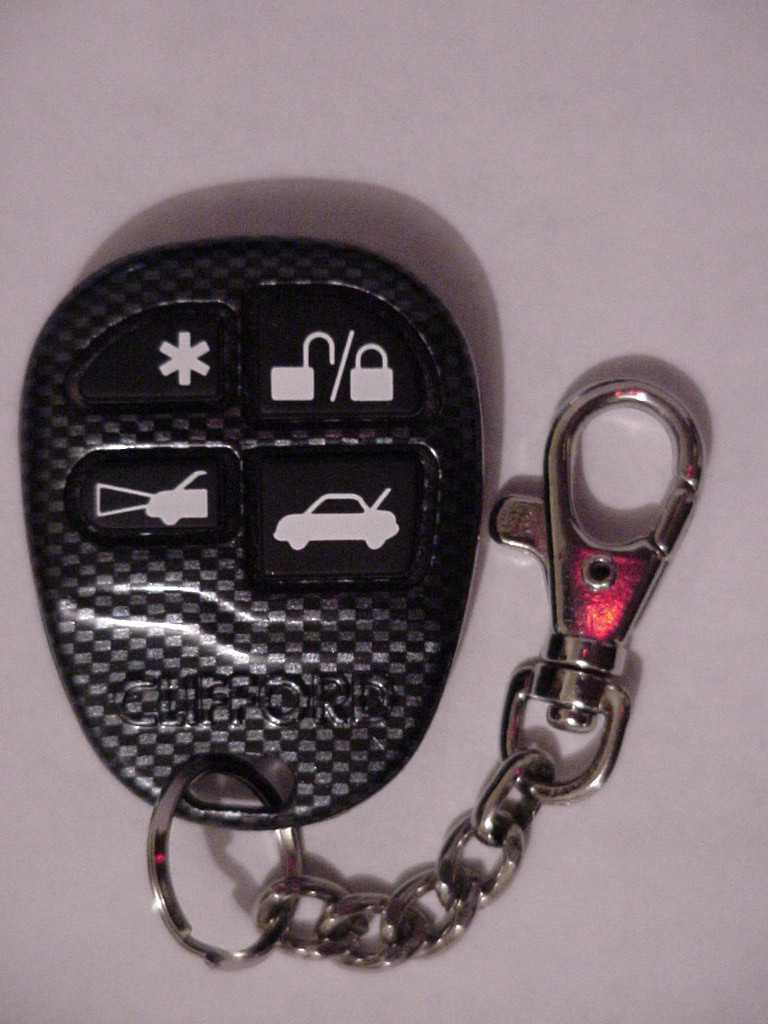
Clifford Intelliguard 9000 Security
On standby protecting the 4Runner is a Clifford G4 Intelliguard 9000.
During my research for an alarm, I became aware that Clifford was bought out by DEI (Largest automotive security manufacturer).
In speaking with a few local shops, I was advised against purchasing a Clifford alarm. They claimed that Cliffords quality had gone down and support was not readily available.
Despite their advice, I continued to research and came across Marina Auto Stereo and Car Alarm. They carry Clifford and one other brand, which I dont recall.
After numerous conversations with Brent (Installation Manager) at Marina Auto Stereo, he assured me that Clifford was making a good product and that he had no problems with their product. On top of that, they would backup it up if anything became defective.
At this point I was excited since I really wanted to go with a Clifford brand alarm due to the fact that they offered more features and had the best looking remote. I know it's a small reason but valid, plus you have to admit the carbon fiber look is so cool!! ;)
Below are the main highlights of the Intelliguard 9000:
Black Jax= AntiCarjacking system.
Dual Point immobilizer= Ignition and Starter Cutoff.
Dual Zone Proximity Sensor= Warning sound if someone is lurking too close to your front (2) windows. Adjustable zone.
Dual Zone Omnisensor= Warning sound on light impacts and full alarm on harder impacts. Both zones adjustable.
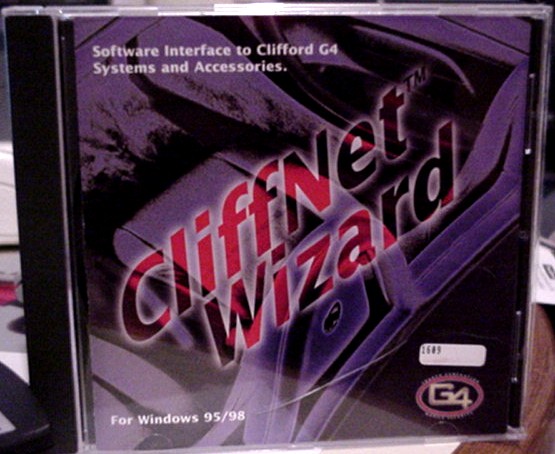
Cliffnet Wizard= Windows based application that allows you to configure and change system setting with an optional cable and a PC/Laptop. Very cool ;)
Intellistart= Remotely start the engine, warms up the interior in the morning and cools it down in the evening. I love this thing :D. Short Stop function allows you leave the engine running without the key and arm it. This is handy when running short errands and you want to avoid shutting down the truck.
NightVision= Automatically turn On and Off the headlights depending on the light conditions. (Another cool thing ;)
Battery Backup Siren= In case wire are cut, the siren keeps going.
Roll (2) front windows upon arming= Just as it reads, can be bypassed if you prefer to leave windows rolled down.
Smart Window= In my case, wired to rear window. Allows me to roll down, up and crack from the remote. Toyota factory remote only roll downs the rear window.
As of 8-5-01, Ive had this alarm installed for a couple of months and its been working great. Some tweaking on the sensors was done but that was it. This can be easily done via the remote.
If you want to check all of the features click on the link below and check it out.
Lastly but extremely important, whatever alarm you decide on make sure that the shop youre dealing with has some experience. An expensive alarm is useless if installed improperly!!
Yellow Top Deep Cycle Battery The stock Panasonic Battery has now died. The stock battery lasted just over two years. Due to extra current draw from my audio system and other future mods that will eventually tax the battery, I decided to replace it with a high quality battery. I choose an Optima Battery due to their reputation and their (5) year warranty.
The yellow top is a deep cycle type, which means it can recover from being fully discharged without any damage. Plus it should provide a longer period of use (haven't actually tested it's limits with my setup). Meaning it should stay at around 12.5 volts for a longer time vs any other type of battery.
The Red top battery is considered a starting battery and should be sufficient for most applications. The Orange top is reversed poles version of the red top, So if someone with a 96 to 02 4Runner is wanting or needing to replace their battery with a red top, they should consider an orange top to avoid pulling and yanking on the cables.
Unfortunetly, Optima does not make a reverse pole type version of the yellow top. Due to this, I had to do some pulling and tugging to be able reach the cables to the battery poles. 
|